
Hiking Dude Blog
2025 2024 2023 2022 2021 2020 2019 2018 2017
2016 - Dec Nov Oct Aug Jul Jun May Apr Mar Feb Jan
2015 2014 2013 2012 2011
10/27/2016
Gaiter Protection
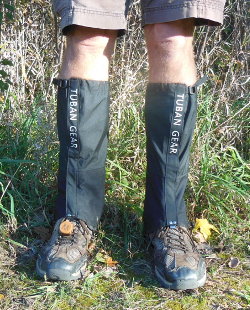

Not protection FROM 'gators', but protection BY 'gaiters'.
#TubanHikingGaitersSnowGaiters
One reason I like backpacking up in the mountains above timberline is because I can see forever. Not just the wonderful scenery, but the terrain around me, too. No little animals or snakes rustling in the brush right beside me, no prickly thorns and weeds scratching me, and no roots tripping me while I hike along. Unfortunately, those high mountain hikes are relatively rare since I'm a flatlander and do most of my hiking through forest, grasslands, and prairies. These are beautiful, but there's a much higher probability of light injury to my lower legs.
A good way to keep lower legs safe, is to wear a light pair of gaiters. Ankle-high gaiters keep debris out of your shoes as well as a bit of rain, but calf-high gaiters do all that plus provide protection to shins and much more water resistance.
Gaiters are wonderful to keep snow off my pants and out of my boots. Staying dry in cold weather is as important as staying warm. They also help with rain by diverting drips off the shoe instead of letting it soak into the sock and into the shoe. Besides snow and rain, gaiters also stop sand, gravel, twigs, and other trail debris from working its way down to my feet to cause irritation, blisters, and a grumpy mood. Plus, knees down is where most of the trail dirt and grime are accumulated so gaiters help keep me and my clothes clean on the trail.
Gaiters also provide lower leg protection, specifically against shin scrapes and scratches. While hiking through an old train tunnel doing research for my next book, I hit my leg on a big rock. I was moving my feet slowly and taking my time since I had no flashlight - well, I had one but I was too lazy to get it out for this short tunnel. Oops. No real injury as more than a foot of skin on my shin got peeled off, but it bled and stung for an hour or so and it's just now pretty much healed. A sturdy gaiter would not have prevented me from being stupid about the light, but it would have prevented almost all the damage from that kind of injury.
More common than running into rocks is getting scratched by vegetation. Hiking the 800-mile Arizona Trail, I had my fair share of pokes, scratches, scrapes, and cuts. I was fortunate to not get any cactus injuries, but every plant in the desert is designed to injure whatever comes close to it. One of my water bags even got punctured. Gaiters are perfect protection while hiking in this territory or any place where the trail is narrow or if you have to bushwhack cross country.
The plants and grasses, even those that don't bite, are still irritating in the morning. Hiking the Ice Age Trail, the first couple hours most mornings got my lower legs and shoes soaked just because of the heavy dew and walking through the prairie grass, brush, or whatever was growing along the narrow, less used trail. Gaiters, worn just those first couple hours each day, would have made life much more pleasant.
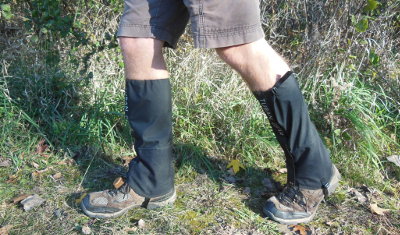

I've owned a pair of gaiters since 1984 - yes, that long! But, I just got a new pair of Tuban Gaiters for free to try and review. They make my old pair (which still work fine) look and feel ancient.
My new gaiters weigh just 2.5 ounces each versus the old 3.5 oz. each so it's easy to forget they are on. They have a strong synthetic instep strap instead of a lace strap so I expect that to withstand abuse from the trail pretty well. A front velcro-type opening replaces my old rear zipper so they are much easier to put on and off. And, the top cinch is a strap and buckle rather than a lace. All in all, a huge improvement in design over a short 30 years. :-)
These gaiters are also a good Leave No Trace piece of gear. The synthetic fabric is so tightly woven that burrs, seeds, and other stickers don't cling to it for transportation. You don't wind up being a vehicle for invasive plants to have their seeds dispersed by hitching a ride on your pants or socks, just to be plucked off and thrown to the side to grow at your next rest stop. Also, with the protection from gaiters, you are more prone to stay on the trail instead of straying to avoid any small nuisance in the path.
If you're interested in checking out my gaiters, hike to Amazon and take a look. If you buy a pair, use this code to save 50% ( CRDTRIFX ) They come in black, blue, or orange. This time of year, any extra orange is helpful.
The largest part of my calf is 17 inches around, and 16 inches around just below the knee where the gaiter top rests. The size Large fits fine, but if your legs are larger, go for the size XL. Measure up 18 inches from the floor when standing to find where the gaiter top will be on your leg.
Hike On
Leave Comment
Posted: 10/27/2016
Posted: 10/27/2016
10/26/2016
Pauls Boots
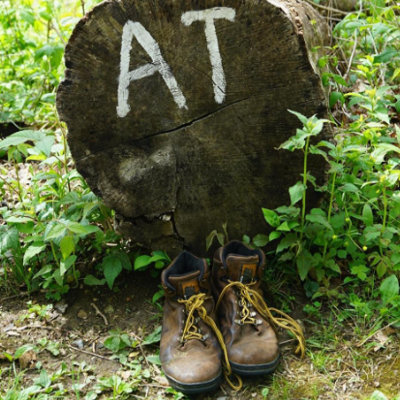

Why, oh why, oh why, would ANYONE want to hike so far????
That's often the thought folks have when they hear about someone that likes to hike the longer trails. And, it's a good question! Some people hike to find themselves, others to lose themselves, others to enjoy quiet time, others to meet new friends. It kind of reminds me of coffee commercials - some say it perks you up, others say it calms you down. :-)
Hearing about someone's hiking trip is like seeing an astronaut's photo of earth, or hearing a recording of a live concert, or smelling a day-old doughnut - it is just not possible to appreciate the description without personally experiencing the event. One example I use is a day I had on the Arizona Trail. As I hiked 35 miles across the desert south of Flagstaff, a rumbling sound caught my attention. I saw about 50 elk running across the open grass ahead of me. When I stopped to watch, I could even feel the ground shake from their pounding. I didn't smell them, but sight, sound, and feeling were all involved - you can't appreciate all that from me just writing it here.
That's why it's great to meet others out on the trail. It's a community that tends to support each other and let everyone be a part, in whatever way they'd like. A short movie was just made to show support for a specific person that could no longer participate, but more so for the community as a whole to become stronger and more supportive. After watching Paul's Boots, I think you'll appreciate a bit better what the hiking community is about.
The movie is 37 minutes and give a glimpse into the hikes of a handful of various people, some famous in the long trail community, and others on their first long hike. Each of them taking on a burden in support of an Australian named Paul who could not hike the trail himself.
Hike On
10/19/2016
Meet My Little Friends
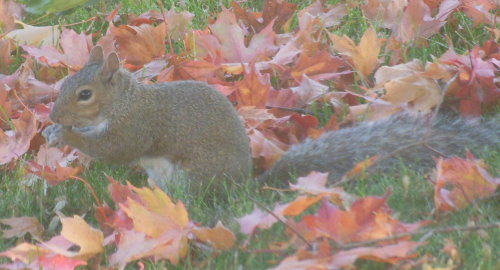

While watching my maple tree continue to slowly turn color today, and contemplating content for my hiking guide, I noticed this cute squirrel hopping about in the leaves and picking up stray maple seeds. I didn't realize squirrels like maple seeds that much, but I've got tons of them to share this year. I wonder if they taste anything like maple syrup to squirrels?
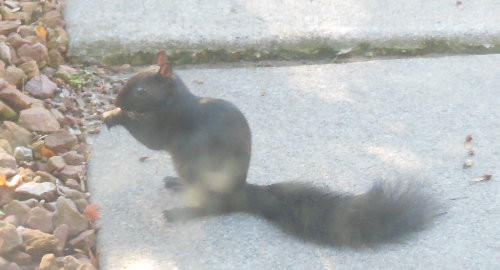
Anyway, I took his picture and went back to work. A bit later, with the afternoon continueing to be bright and sunny and my computer screen being boring, I saw a black squirrel wolfing down seeds, too. Maybe he was collecting them for later rather than eating them now, I don't know. Anyway, through the window, I got his picture, too. He looks more greyish here, but I promise he was coal black.

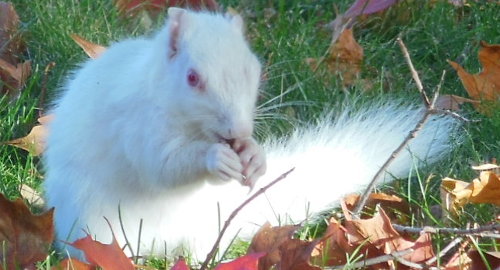
Believing I should share my good fortune with the networked world, I was about to post his candid photo when another little critter scampered by. Now, this gal is the real reason I even had my camera sitting here. I've seen her the last couple days but she always skittered away before I could snap a shot. I guess she's getting full and slow because today she was in no hurry and posed like a professional model for me, in the leaves and breeze. You can't see it, but her hair was blowing in the wind. :-)

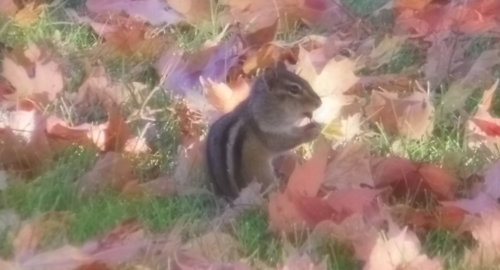
Grey, black, and white squirrels in my yard all in one day. Pretty cool. But wait, there's more! As a bonus this chittering little guy also made an appearance. I think he just heard the paparazzi were around and wanted 15 seconds of fame. I obliged.

Wow, all that wildlife and I didn't even go for a hike today.
Hike On
Leave Comment
Posted: 10/19/2016
Posted: 10/19/2016
10/18/2016
Where's the Red?
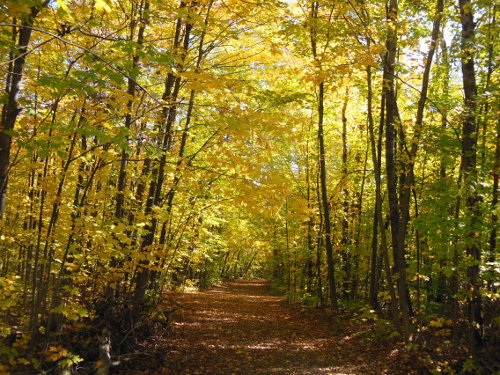

OK, to follow up on yesterday's post about improved photos, I need to let you know what brought that about.
I spent two days hiking around Duluth, MN doing research and taking photos for a hiking guide I've been asked to write. During that time, the fall colors weren't very spectacular so I spent another day about 10 days later to get better pictures. The colors of the trees still seemed kind of flat to me - mostly pale yellow, even maples. Oak and cottonwood leaves usually just turn tan in the fall and drop off. Poplar and birch turn yellow, but I was hoping for some engaging reds and oranges from the maples trees that I know are there. To my disappointment, even the maples were just pale, mostly yellow with a bit of orange on some trees.
The maple tree in my front yard presents a spectacular display of orange and red every year and is a joy to watch change. This year, I've noticed it is showing pale orange and nothing like I've enjoyed in the past. It was such a drastic difference, I was concerned and checked to see what might cause it. I noticed that there are thousands! of seeds on the tree this year - I thought maybe it is putting its energy into seed production rather than color. Some research on the good 'ol Net informed me that is not the problem.
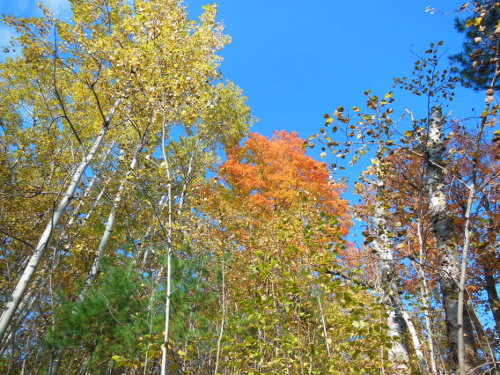

Fall colors in desiduous trees are pretty interesting. During the summer months, the tree's chlorophyll creates green pigment and we see green leaves. Underneath that green color there is also yellow color (carotenoids), but we can't see it. When the amount of sunlight decreases day by day as fall approachs, the tree generates less chlorophyll. Eventually, the lack of hours of sunlight prevent the tree from creating chlorophyll, the green color fades away, and we see the yellow that was there the whole time. So, in fall, we're pretty much guaranteed to have yellowish fall colors.
The orange and red colors are different. They are the head-turners, but they may or may not show up in any year since the stuff that makes red color (anthocyanins) is only created in the fall, and some years are better than others. More red colors will appear when the tree receives more bright light and cold air. So, crisp autumn days with little cloud cover create the best environment for brilliant fall colors. If it's a dreary autumn weatherwise, the tree colors will tend to be mostly yellow (and dreary) too.
Other weather can affect fall colors, too. A sustained drought can delay the process of color turning by a couple weeks. An early, heavy frost can kill the leaves before they can turn color and they fade directly to brown and drop.
So, the perfect recipe for great Fall Colors is a warm, rainy spring followed by a pleasant summer with clear skies in early fall. This creates robust growth, sustained health, and strong preparation for winter.
Much of my maple tree's leaves are still green, so I've got my fingers crossed that this week of nice weather will help it brighten up before halloween. And, don't get me started on those box elder bugs! :-)
Hike On
Leave Comment
Posted: 10/18/2016
Posted: 10/18/2016
10/17/2016
2 Good 2 B True
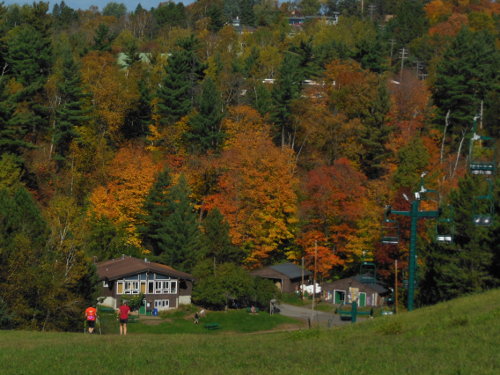

On instagram I see these gorgeous nature photos. Crisp, colorful, vibrant colors. Perfectly focused, eye-popping hues and tones. Sometimes, they seem to good to be true.
I thought this scene of ladies practice hiking up and down a ski hill in Duluth was interesting and colorful, so I took a photo. When I compare my photos I've taken on the trail to others, I see drab, sometimes blurry, bland scenes that look exactly like what I saw when I was out there. What am I doing wrong?
Well, being the inquisitive type, I did a bit of digging and found that some of (most of, a huge majority of, nearly all but mine) the pics posted online have been filtered to make them better than real life. What??? A picture of a tree by a trail needs to be improved? Why?
Here's an example... Just google 'rainbow mountain china' and check out the images that are returned. WOW!!!! I really want to go there. But, wait a minute. Here are two images of virtually the same place, one natural and one 'enhanced'. Guess which is which...
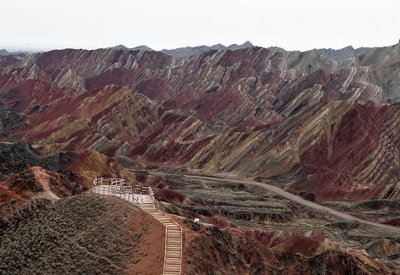

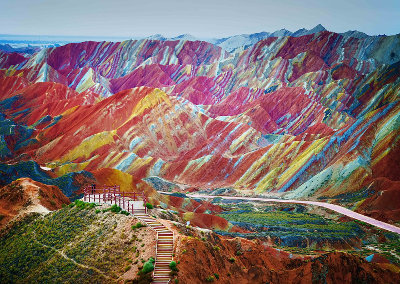

The real one is pretty cool, and I could see that if I hiked there. But, the colorized one is impossible to actually see in real life. Nature photos that are blurred, sharpened, contrasted, emphasized, and in other ways 'improved' make it more difficult to trust the story being told. They set expectations of being able to enjoy that scenery by someone hiking that trail or visiting that location - expectations that can never be fulfilled.
I can certainly understand improving a picture to influence people, such as marketing or high school albums or publicity shots, but just pictures of that hike through Wyoming? - Come On! Sure, crop out the clutter and level the horizon if you held the camera crooked, even remove red-eye if you want, but blurring, filtering, brightening, sharpening, and colorizing just create a fantastic version of something that was never experienced, doesn't exist, and will never be seen.
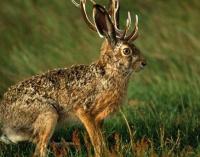
I figure if the photos are getting doctored up anyway, might as well make it worth the effort...

08/31/2016
Hops, Not Hiking
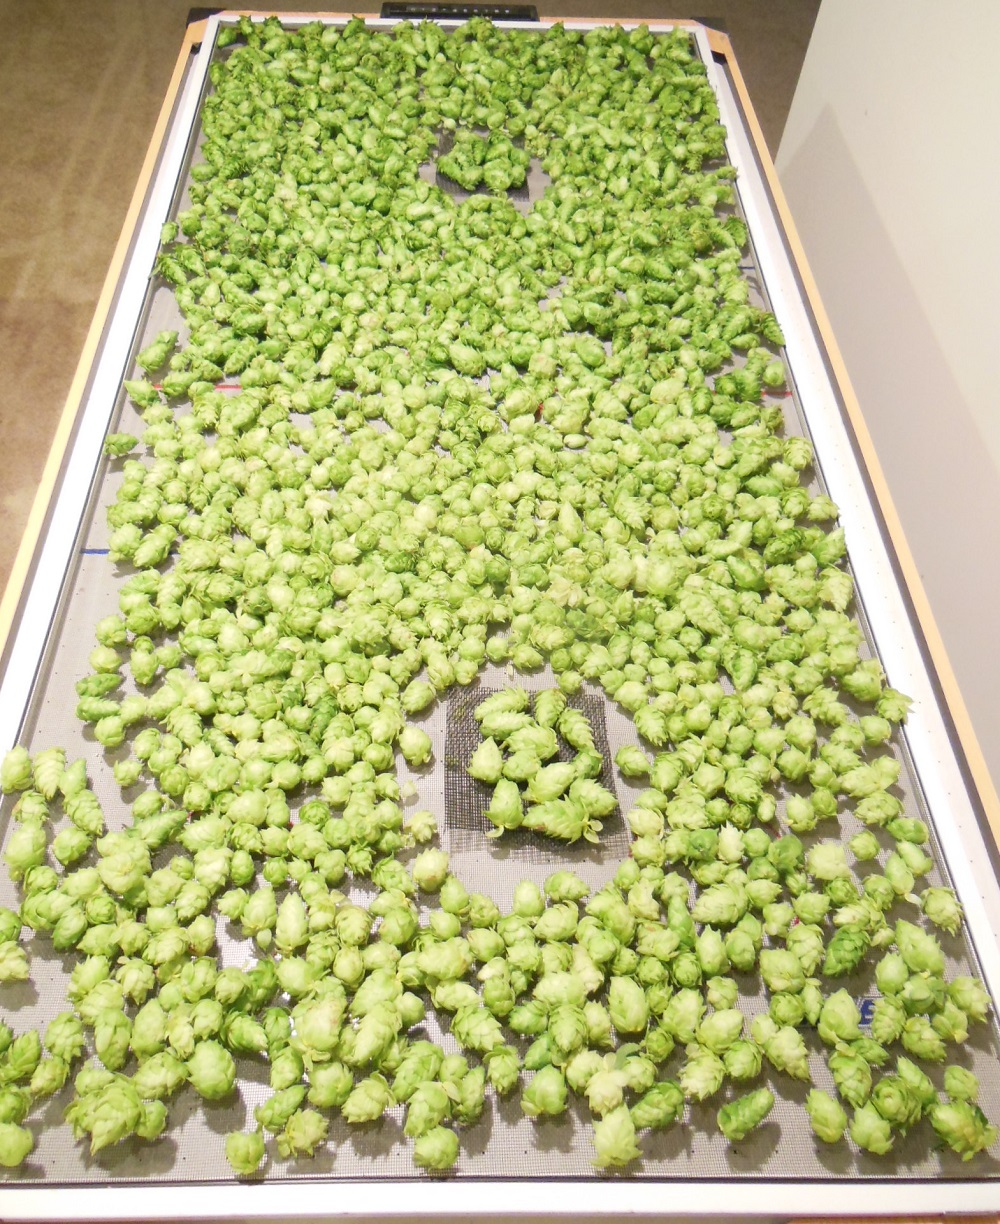
 Besides hiking, I also homebrew beer. My wife wasn't using our very small garden plot this year, so I grew four hop plants just to see what would happen and today was the surprise harvest day. These are all the hops I harvested from my small garden. Tonight, they are laying on a screen on an old air hockey table where they will hopefully dry over the next day so I can use them in my next batch of beer.
In 5 short months, I've learned a ton about hop farming - and there's still tons and tons more I don't know, but that will make it fun to continue on learning. For example, just the terms are weird - a bine is a hop plant that normally would be called a vine, the hop plant that gets planted in the ground is called a rhizome, and the part you harvest is a cone. That screen has about 2 pounds of cones on it.
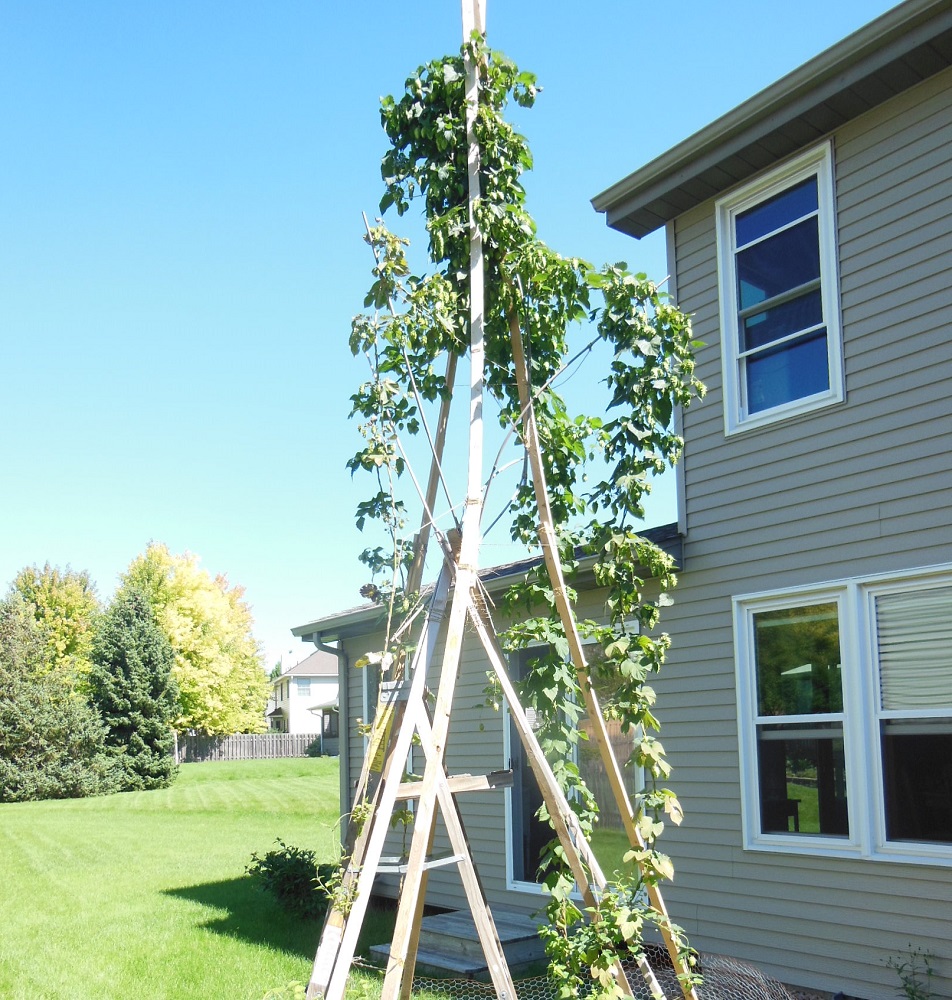
 But, I want to let you know how I spent my last day with my hop farm.
 I planted four rhizomes way back in April - two Cascade hops and two Nugget hops. I built a 7-foot pyramid trellis for them to climb and, as they quickly sprouted and reached towards the sun, they worked their way to the top. All four bines survived, grew, and were healthy. I kept their small area weed-free and life was good.
But, those bines wouldn't stop growing. I finally had to accept the fact that hops really do grow to 20 feet high. I lashed together a taller three-poled trellis and up they climbed. This is the final growth that I started harvesting today. The bines reached the top, wrapped around, and basically made a big knot of hops at the top. Hey, it was my first year and I just wanted to grow hops.
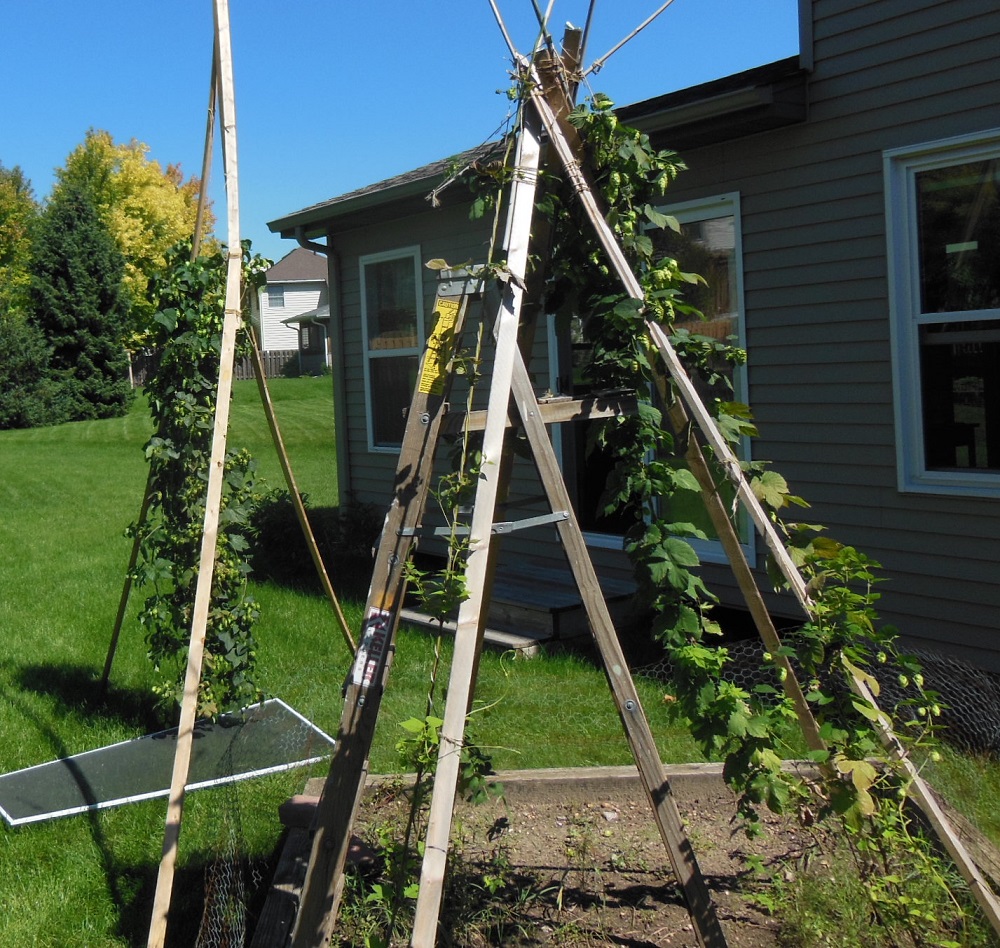
 I found out today was harvest day because I tested a dozen cones to find their moisture content. If it's under abour 78%, it's time to harvest. I weighed them, then microwaved them to evaporate off all the moisture and weighed them again - moisture was only 70% so they were drying out and I didn't want them to go bad on the trellis.
Since they had grown so high, I cut all four bines about 6 feet up and lowered the upper section to the ground as you can see in this photo. I picked the cones off the remaining 6 feet and will let that part of the plant continue to grow until it naturally stops this fall. This should strengthen the root system so I can cut it back and then have it come back with vigor in the spring.
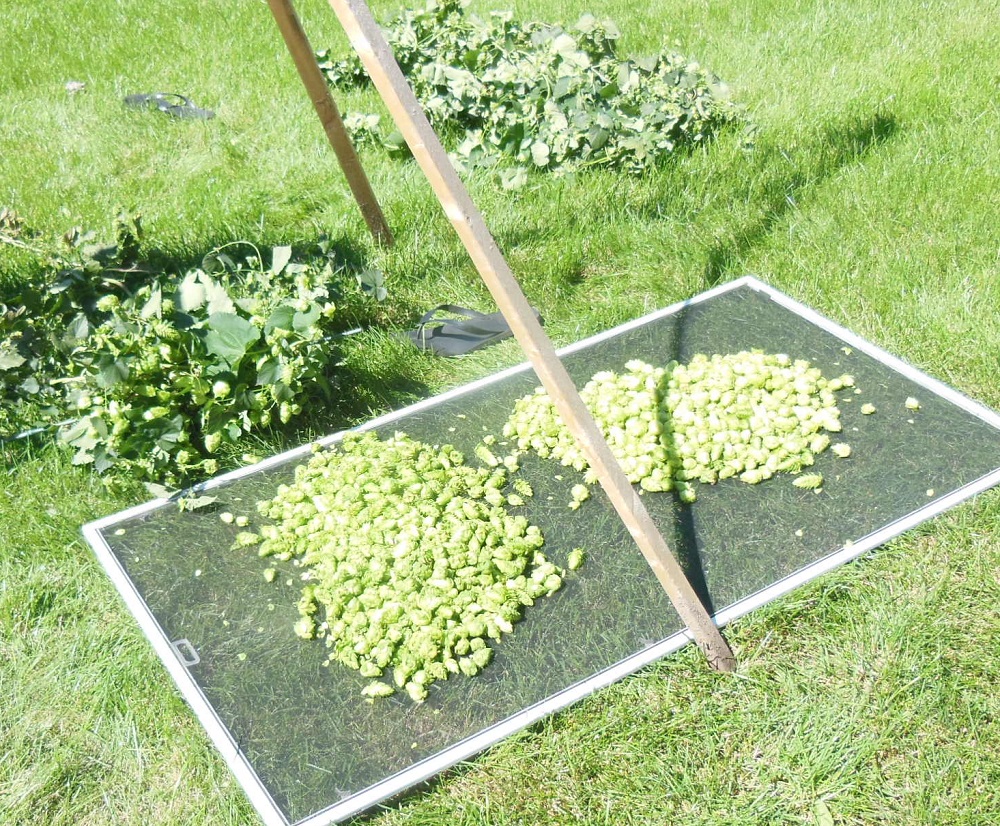
 The next 60 to 90 minutes were pretty easy and monotonous, just plucking cones off the bines. The old window screen worked well to collect the cones and it was fun to watch my small piles slowly grow as my hands got slightly sticky from the hop oils and my arms itched from the hop fibers. They say to wear gloves and protective clothes, but I'm a noob this year.
I finally finished with two piles of cones, the bare bines in the compost bin, and a successful harvest. The funny thing is that a batch of beer uses somewhere around 4 oz. of hops - once these 2 pounds are dry, that's just about how much I'll have. A summer of growing for just one batch of home brew.
But, it was sooooo fun, entertaining, interesting, and educational to grow my own, and next year they should produce about twice as much. I'll have a better trellis to keep the hops separated and they will be more mature with a higher yield.
Oh, and I did hike 5 miles on the trail this morning before harvest!
Older Posts Newer Posts
Find more Hiking Resources at www.HikingDude.com


Follow Me
Recent Comments